|
The upper wing was built with few problems, and by following the kits instructions you cannot go far wrong. This part of the project took me about 2 weeks working fairly steadily- a couple of hours a day. Each wing rib took about 30 to 40 minutes of work. I had some trepidation over the filing out of the wing rib cut-outs(see previous page) but the wood is much stronger than balsa, so it is still a fairly strong structure.
Be careful when sanding the 2nd main spar ie the 2nd one from the leading edge, as it has a tapered section towards the wing tips, over which the outermost ribs must slide. If you don't sand enough material then you will risk fracturing the top cap strips on the ribs- which I did. Oh well you find out the hard way!
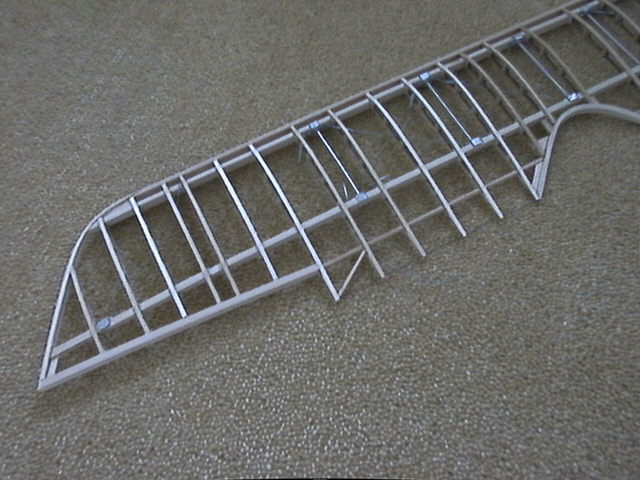
| Port section of upper wing |
|
Two further words of warning before you dash on and get building your wings!:
1 Be careful with the positioning of the white metal compression bar/wing spar mounting brackets- wow that's a long technical term. The spars adjacent to the aileron horns are very close together, if you place them too close then you won't be able to get these brackets between the spars. The kit plans do not make this too clear.
2 I would recommend that you tie the turnbuckles ( again white metal castings) to the compression bar brackets before you glue them onto the 2 wing spars as it will be a very fiddly job to rig these lines between some of the wing ribs after they are glued into position.
The laminated sections were built in the same way as for the lower wing and presented no real problems.
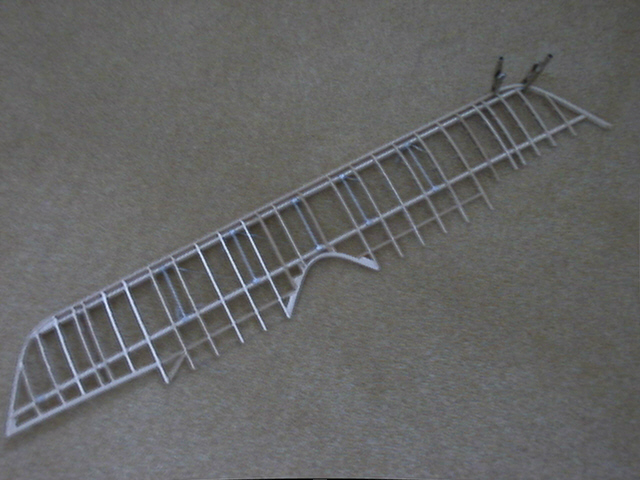
| View of upper wing- minus aileron castings |
|
|